Tutorial: How to Use the Influencer Invitation Feature
One-Minute Video Tutorial
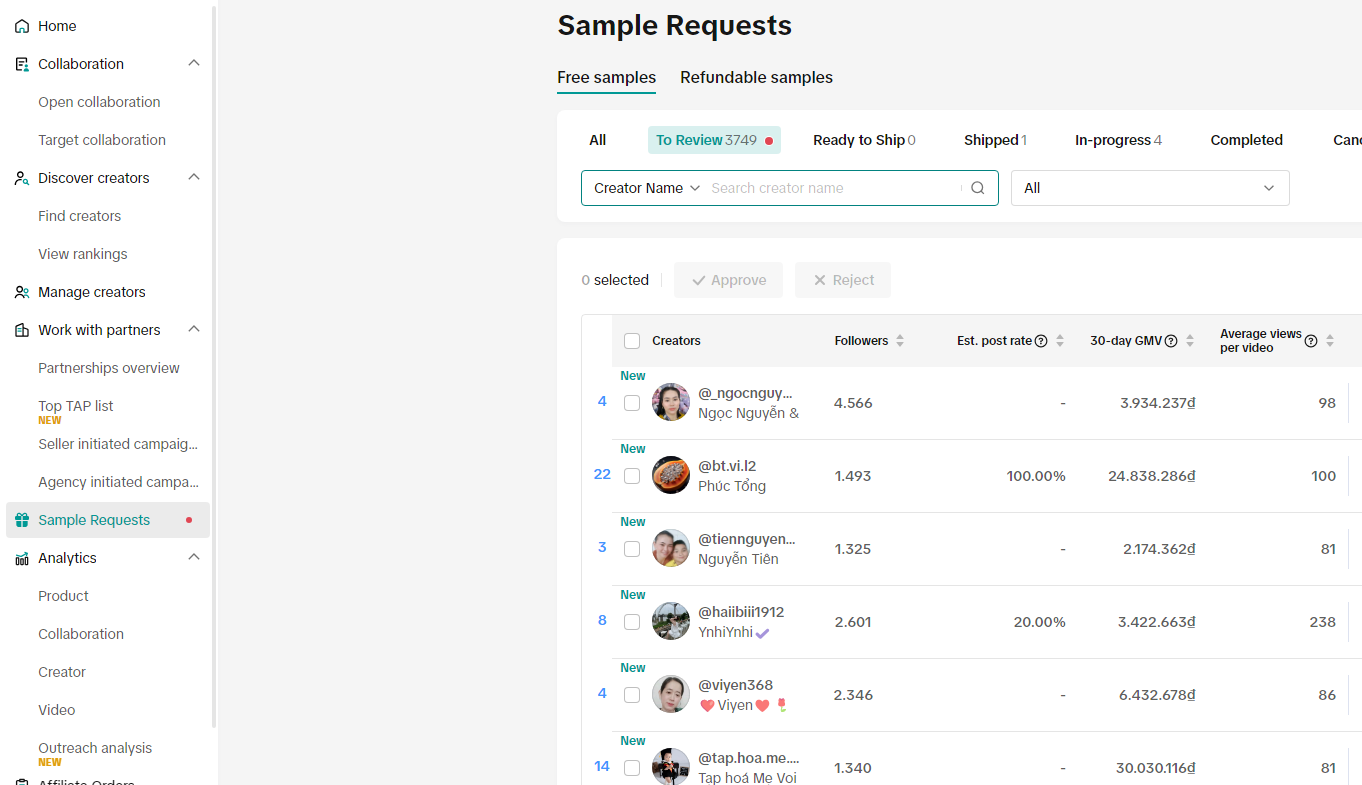
Effect of Using the Plugin on Influencer Sample Requests
📌 When you can invite up to 10,000 influencers per day, and execute this for multiple days in a row, the system will generate a huge number of influencer sample requests.
To avoid wasting resources and improve collaboration efficiency, you can combine the filter and scoring functions to quickly identify high-quality influencers and send samples more precisely.
 If you encounter any issues while using, please provide feedback directly. We will contact you and resolve the problem as soon as possible.
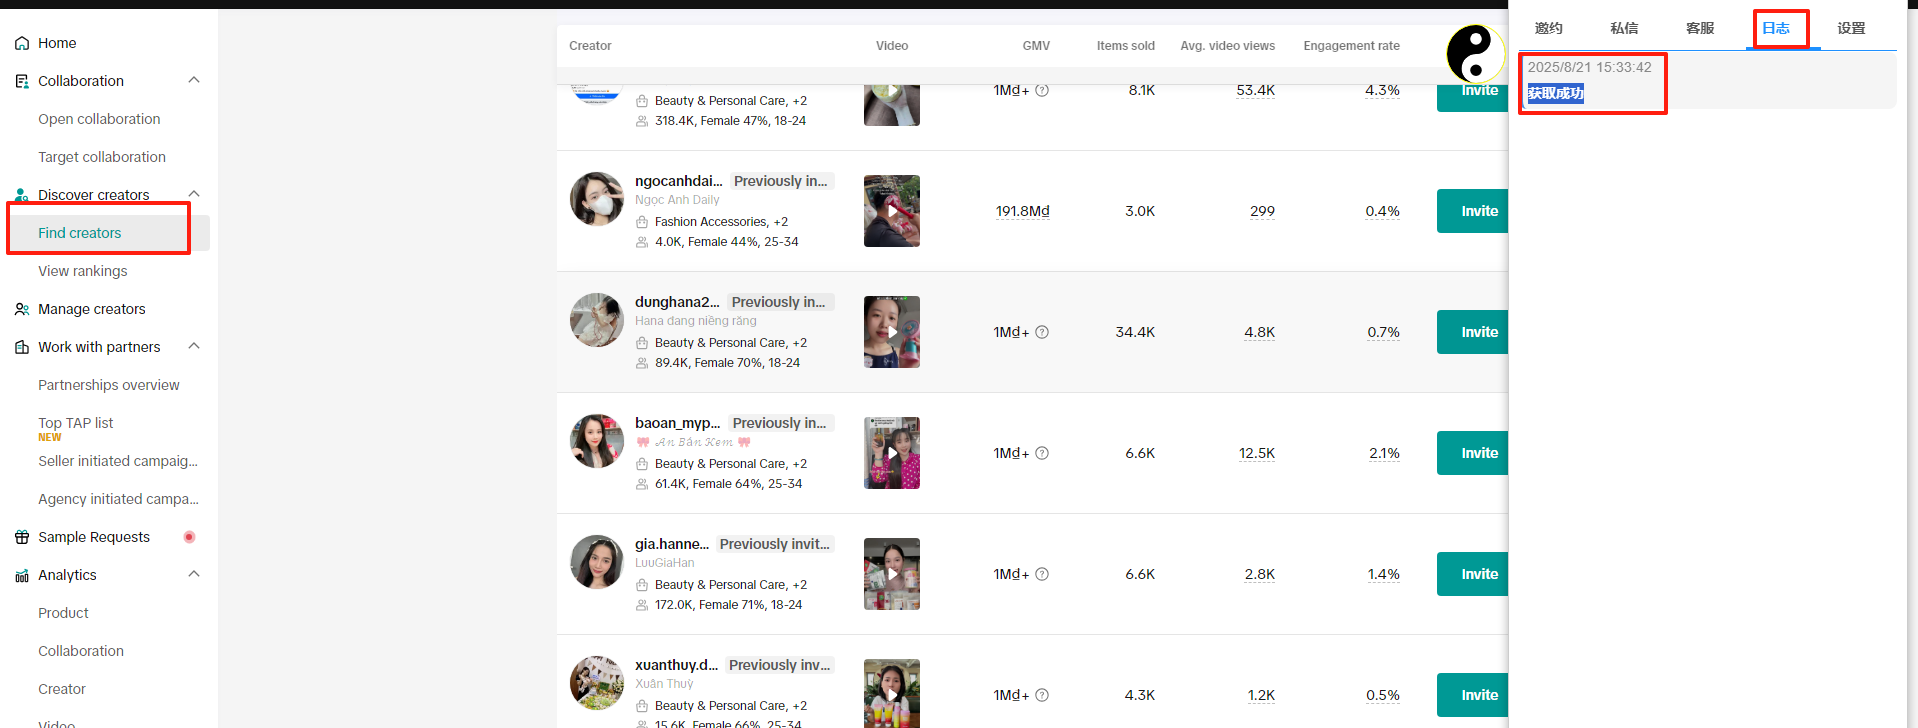
Step 1: After Successfully Installing the Plugin, Go to Find Influencers Page or the Homepage
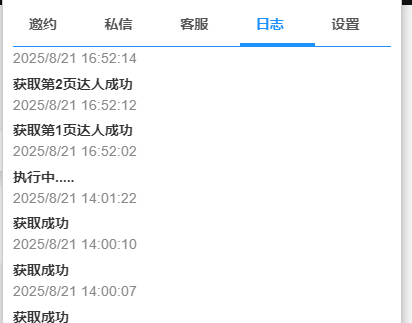
Go to TikTok Shop > Affiliate Program (or Find Influencers page). The log section will display a Fetch Successful message.
Note: The navigation path differs between Cross-border Shops and Local Shops. For local shops, go via the Affiliate menu in the backend.
Step 2: Create a Template
Click the Invitation menu and create a template. Fill in influencer parameters, for example: average views per video greater than 1000 (as shown in the example).
Enter a template name and save it.
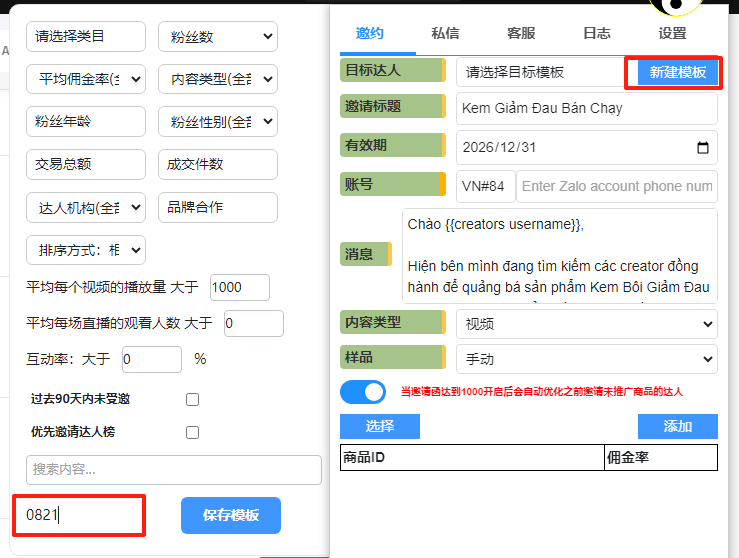
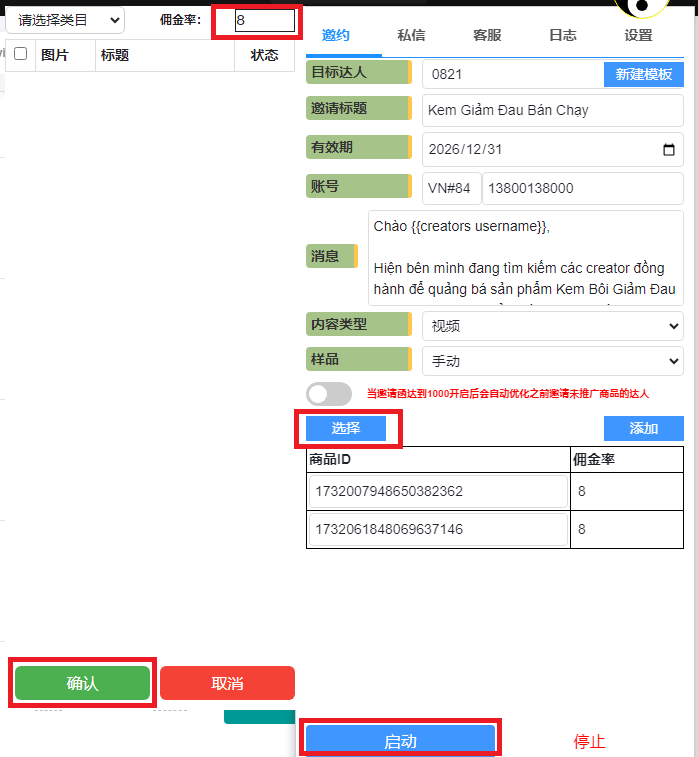
Step 3: Fill in the Invitation Content
Select the template you just created, then fill in the required fields: Invitation Title, Validity Period, Account (fill according to region, e.g., VN#84 = Vietnam), and Message.
Click the Select button, choose the product, enter the commission rate in the top-left corner (e.g., 8%), confirm, and click Start.
Step 4: Start the Invitation Task
Click the Start button to begin the invitation task. After starting successfully, go to the log window to check the execution status.
Note: The Influencer Invitation feature requires upgrading your account to VIP.
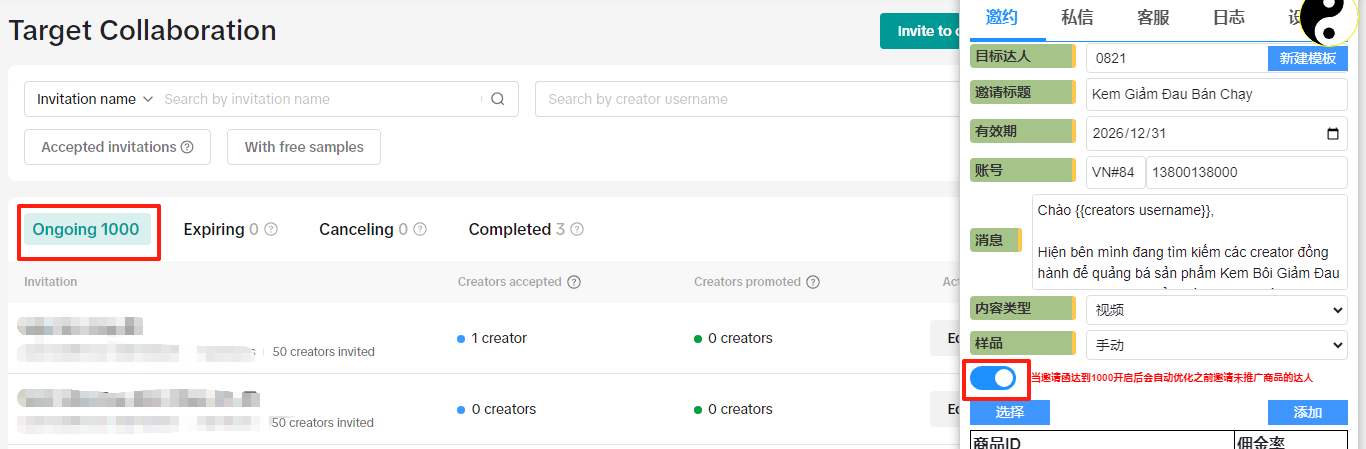
Step 5: When Invitation Function Limit Reaches 1000
Once the invitation function reaches the maximum limit of 1000, please enable the button shown below before starting the task again.